The roller pushes upwards.
Ask what they felt. With the coach, return to supported boat rotation and reduce the lean. Check that your cue is understandable and the support is comfortable.

60 minutes in the pool / Instructor
I'd start by deciding what this roller needs today, then choose the exercise that lets you see it. Give them one useful thing to try and watch what changes. Ask your supervising coach to check your demonstration and assistance before you teach them.
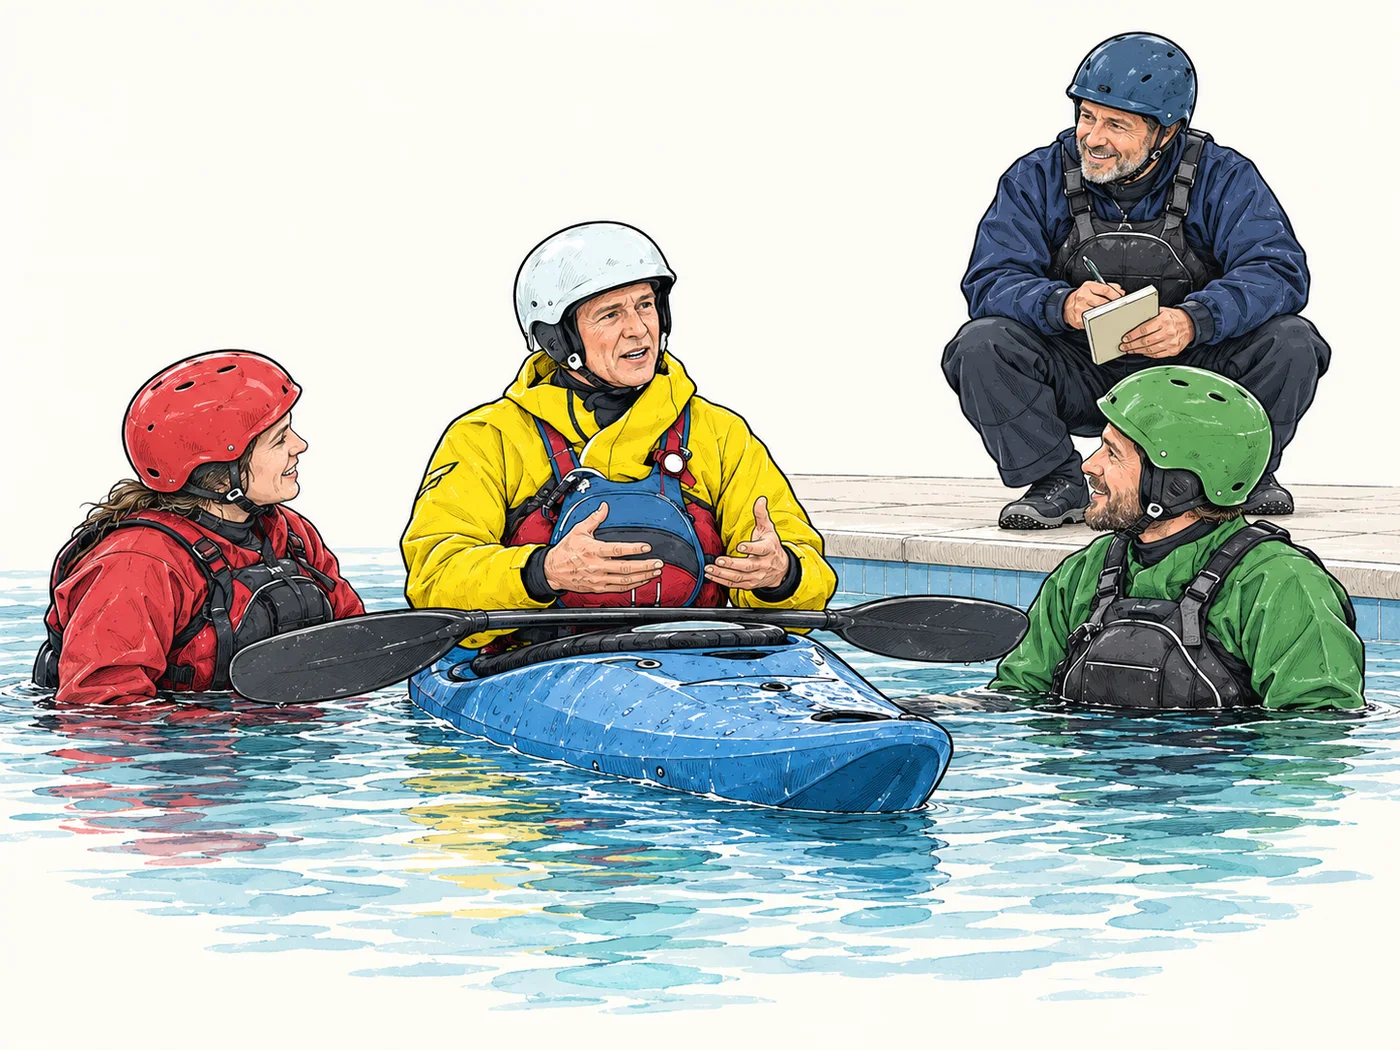
The times below are a way to organise the hour. Stay with an earlier exercise if it is helping, and leave the later phases for another day if needed.
Agree a stop/help signal and permission for contact. Stop for pain, distress or loss of confidence. No solo underwater practice, breath-hold challenges or unexpected capsizes. Helpers must be shown their assistance in person.
The shared hour
Move on when the roller is comfortable and the coach agrees. Completing every stage is not the aim of the hour.
0 to 8 min
Make sure the roller, helper and instructor understand the exercise and how to stop.
Your part / Instructor
The qualified coach confirms readiness, fit, exit arrangements and the helper briefing.
Use the hour for water confidence and supported preparation if capsize readiness is not established.
8 to 15 min
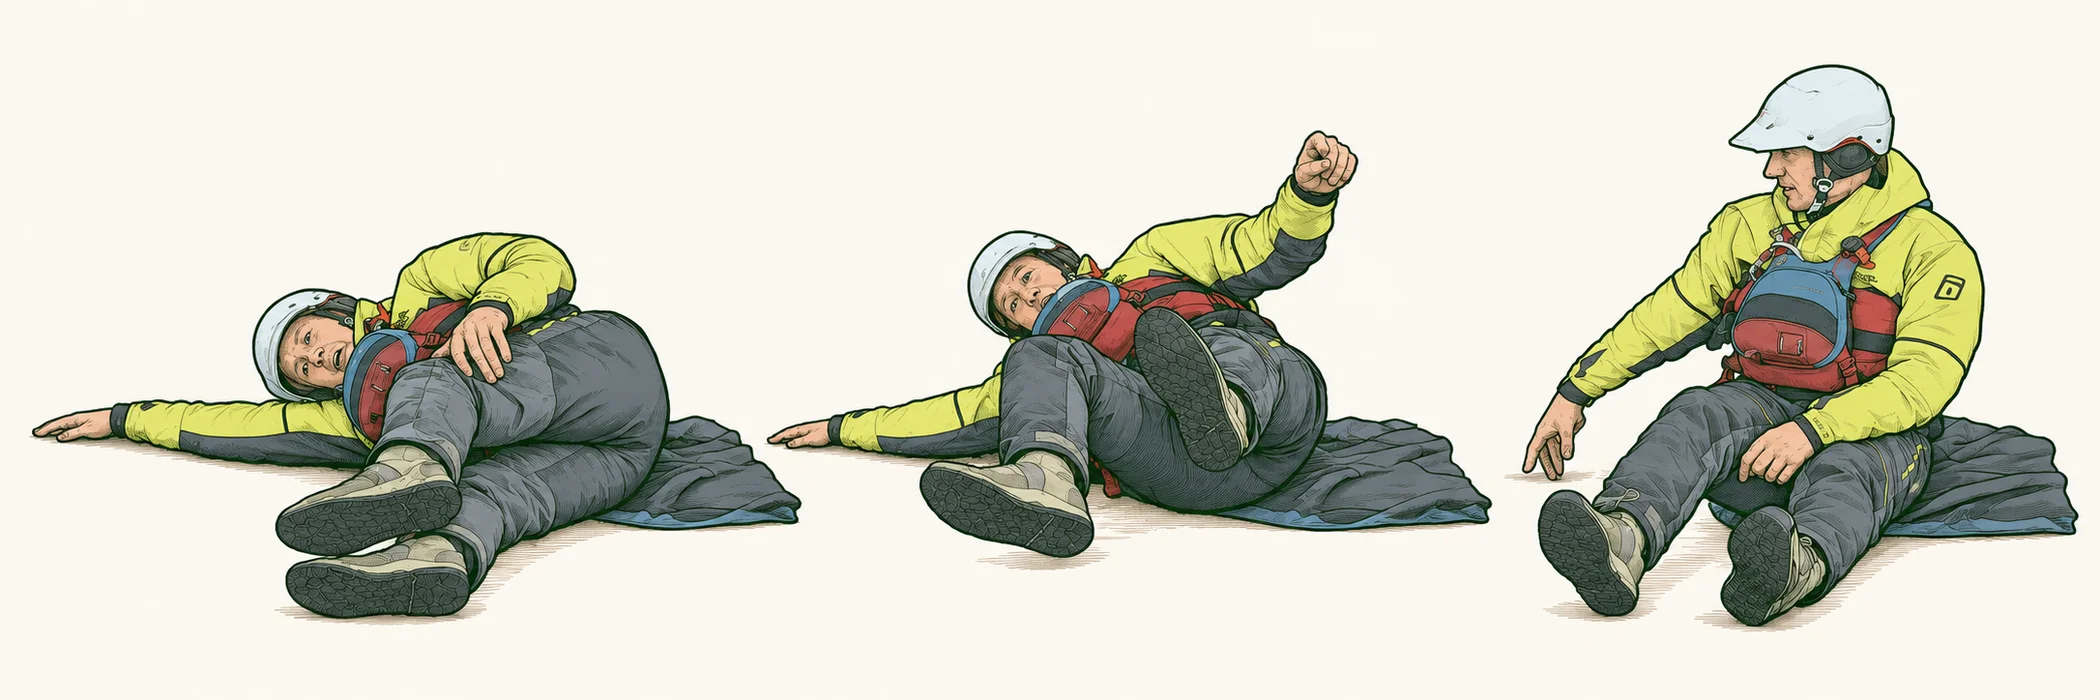
Use the earlier mat demonstration to explore body movement, then check the actual boat.
Your part / Instructor
The roller is comfortable and the coach is satisfied with the boat fit and selected exercise.
Stay with the mat or adjust the preparation with the coach. Do not spend the rest of the hour compensating for poor fit.
15 to 27 min
EJ phase 1: practise rotating the boat while the upper body has support.
Your part / Instructor
The roller can repeat a comfortable supported rotation with less pushing, and the coach agrees to add the paddle.
Keep the same support and reduce the lean. The paddle can wait for another session.
What did you see, what did the roller feel, and why did you choose that next attempt? Check whether changing your demonstration, support or cue would help before asking for another repetition.
27 to 39 min
EJ phase 2: keep the boat movement while introducing paddle support. A prepared roll is an optional next step.
Your part / Instructor
The supported movement stays comfortable with the paddle; the qualified coach decides whether support can be reduced.
Restore support and return to the previous movement. A first roll is optional today.
What did you see, what did the roller feel, and why did you choose that next attempt? Check whether changing your demonstration, support or cue would help before asking for another repetition.
39 to 50 min
EJ phase 3: find the setup, then move into the rolling position.
Your part / Instructor
The roller can find the setup and transition upright, and the coach approves any water progression.
Continue upright setup practice or return to supported rotation. Do not add submersion just to finish the plan.
What did you see, what did the roller feel, and why did you choose that next attempt? Check whether changing your demonstration, support or cue would help before asking for another repetition.
50 to 55 min / Optional extension
EJ phase 4: return to the familiar setup from a different starting position. Treat this as an extension.
Your part / Instructor
The roller can recover the familiar setup comfortably and describe what they are doing.
Finish with a comfortable earlier exercise and leave varied entries for another session.
What did you see, what did the roller feel, and why did you choose that next attempt? Check whether changing your demonstration, support or cue would help before asking for another repetition.
55 to 60 min
Leave with a clear next practice task and a useful teaching reflection.
Your part / Instructor
Each person can name what they learned and the next task.
If views differ, record the uncertainty and discuss it with the supervising coach.
These are prompts for discussion with your supervising coach. They are not a diagnosis of every unsuccessful roll.
Ask what they felt. With the coach, return to supported boat rotation and reduce the lean. Check that your cue is understandable and the support is comfortable.
Review the timing in EJ's phase 2 example. Have the coach check blade presentation, hand position and how much load goes through the paddle before changing the exercise.
Rehearse upright on the chosen side. Show the blade orientation from the roller's viewpoint, then ask them to find it themselves.
Stop, help them settle using the agreed procedure and ask what happened. Bring in the supervising coach before resuming or changing assistance.
Save your instructions before the session. The PDF follows the same stages and includes the video reference.
EJ's Rolling and Bracing 4 Phases of the Roll, Eric Jackson. The four water phases follow this demonstration. The 60-minute schedule, role briefings and teaching reflections are our adaptation. The source's automatic captions contain errors; use the demonstrations and qualified coaching judgement for exact technique.
The earlier land footage remains available in the preparation guide. The mat exercise is not presented as proof of EJ's complete technique. AI-assisted illustrations show the session roles and preparation, not exact rescue grips, shoulder angles or a guarantee of a suitable position.
A qualified coach still needs to review the progression, physical assistance and suitability for the intended learners. Pool rules and the session risk assessment govern equipment, depth, space and rescue cover. Paddle UK pool guidance provides background; it is not approval of this plan.
May I use analytics to improve the site and LinkedIn advertising cookies to show relevant consulting and Elevated Seller ads? Choose either, both or neither. Newsletter signup is separate. How tracking works.
Essential: remembers your choice for 180 days.