← Back to the boathouse

For learners, helpers & coaches

Learning
to roll.

For anyone learning to roll, helping in the pool or coaching the session. Watch the footage, find the bit you need, and use it to talk through what you're working on.

3 stages • Original video • A poolside checklist

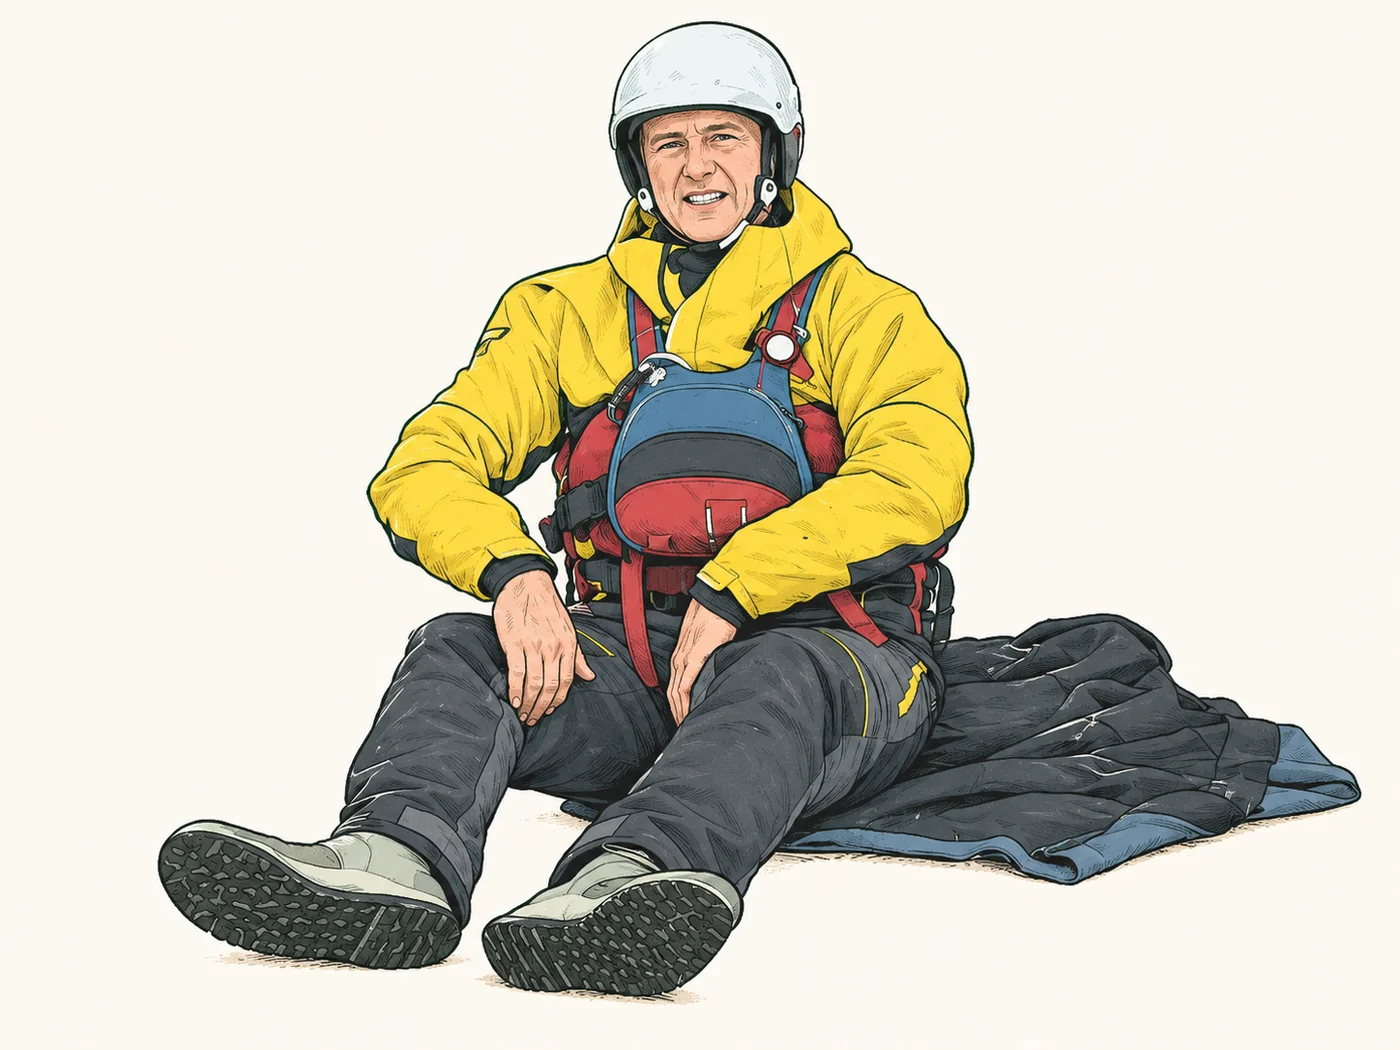
Illustrated paddler sitting on a mat, ready to explore the movement.
The recordings start on land. Use them to prepare for a coached pool session.
Still a working draft. The coach still needs to check the teaching notes and AI-assisted illustrations against the footage. Use the drawings to follow the discussion, not to judge exact body positions.

Start here / 5 minutes 46 seconds

Start with
the video.

I'd start by watching the whole demonstration, then go back to the part you're working on. It's easier to follow the individual exercises when you've seen where they fit.

What's in the video
  1. Mat movementThe body without the boat.
  2. Boat fitHow the paddler fits in the kayak.
  3. Supported positionsThe starting position and assisted finish.

Original footage and audio. Captions are machine-transcribed and may contain errors.

Download the video ↓
Before you try any of this

Do not try to roll a kayak fully upright unaided on land. The mat exercise is separate from supported boat practice. Water practice needs a qualified session leader and appropriate rescue cover. Never practise underwater alone or use breath-hold challenges. Stop for pain or distress.

Working through the exercises

Take it one
bit at a time.

Start with the learner view, or choose the notes for your role.

01

Body-only mat movement

Start on the mat.

Illustration of the paddler seated on a mat with legs forward.
Drawn from the recording. The video below shows the movement.

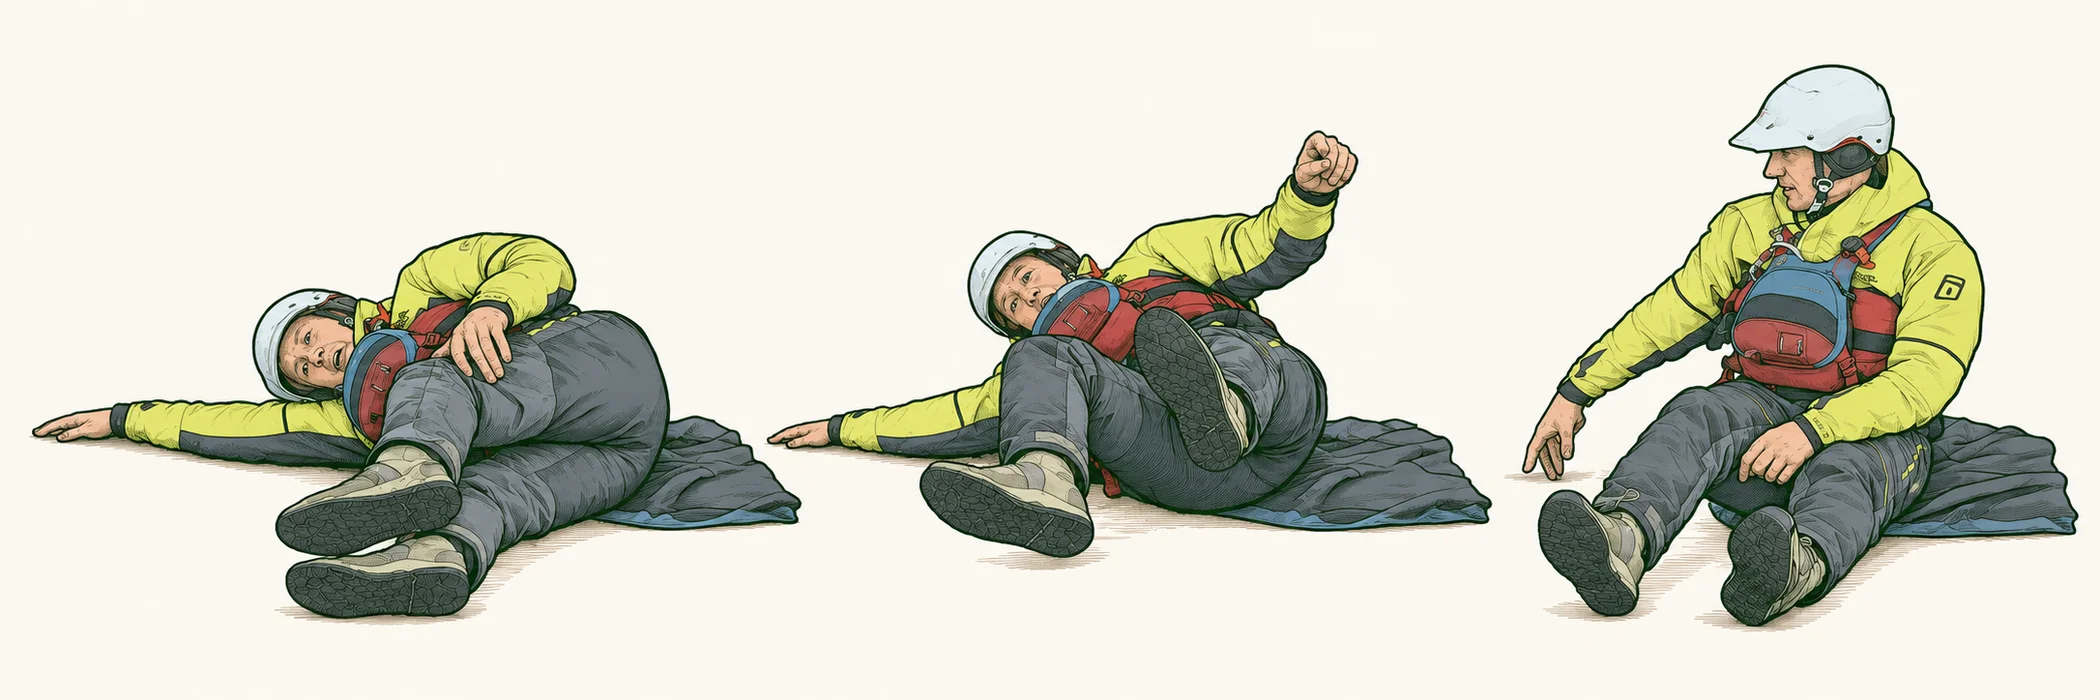
Start without the kayak getting in the way. Watch the paddler move from lying on their side back towards sitting.

What to look for

Notice the lower knee and the trailing hand.

A useful question
"Which part of that movement felt easiest?"

Three source-inspired mat positions: side-lying, rotating towards sitting, and seated again.
Side positionTowards sittingSeated again

The drawings follow three moments in the demonstration. Ask the coach about your own position, and swipe across on your phone if you want a closer look.

Watch the original

Body-only mat movement

Choose a bit to watch. It stops at the end so you can talk it through or replay it. You can also use the video controls to watch the rest.

Choose a passage to begin.

Coach review: progression & source notes

Illustrations and teaching summaries require qualified coach review. Source transcript wording has not been verified by direct listening. Images retain the source orientation.

Start with the movement on a mat

The source repeats '90 degrees', but its exact geometric reference is unresolved. Do not label it as a shoulder angle. Choose a comfortable starting position with the learner.

Source clip 03 · 0:01
Notice the lower knee and trailing hand

Identify the lower knee from the learner's actual position. Avoid fixed left/right instructions because the demonstration changes sides. Do not add a shoulder angle or a forceful arm-push instruction.

Source clip 03 · 0:46
02

Boat fit with the session leader

Check the boat fits.

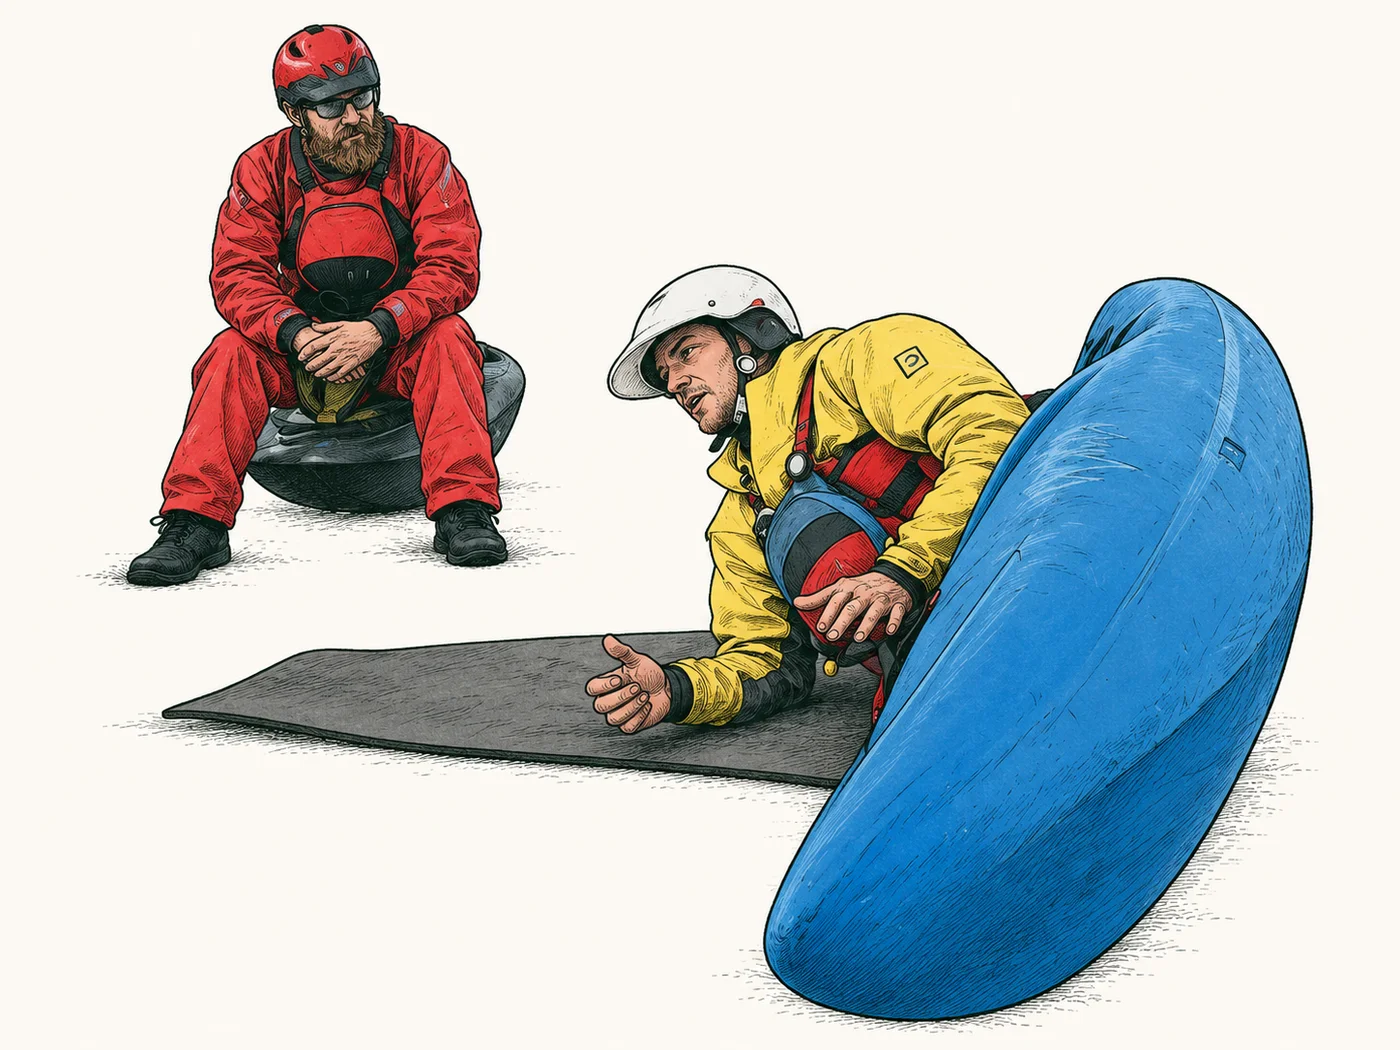
Illustration of the paddler beside the tipped blue kayak during a fit check, with an observer nearby.
Drawn from the recording. The video below shows the movement.

If you're sliding around or feeling squeezed into the boat, tell the coach. Ask them to check the fit and that you can get out easily before you start.

What to look for

Watch for sliding; ask about comfort.

A useful question
"Does anything feel too loose, too tight or difficult to move?"

Watch the original

Boat fit with the session leader

Choose a bit to watch. It stops at the end so you can talk it through or replay it. You can also use the video controls to watch the rest.

Choose a passage to begin.

Coach review: progression & source notes

Illustrations and teaching summaries require qualified coach review. Source transcript wording has not been verified by direct listening. Images retain the source orientation.

Check comfort and connection

At 00:19 to 01:04 the instructor watches a visible reference near the waist, such as a label or seam, while the boat changes position. Attribute the 'any sliding' preference to this instructor. Equipment adjustments must preserve easy exit; do not turn the fitting anecdote into a stripping-out exercise.

Source clip 05 · 0:54
03

Supported boat positions

Work through it with support.

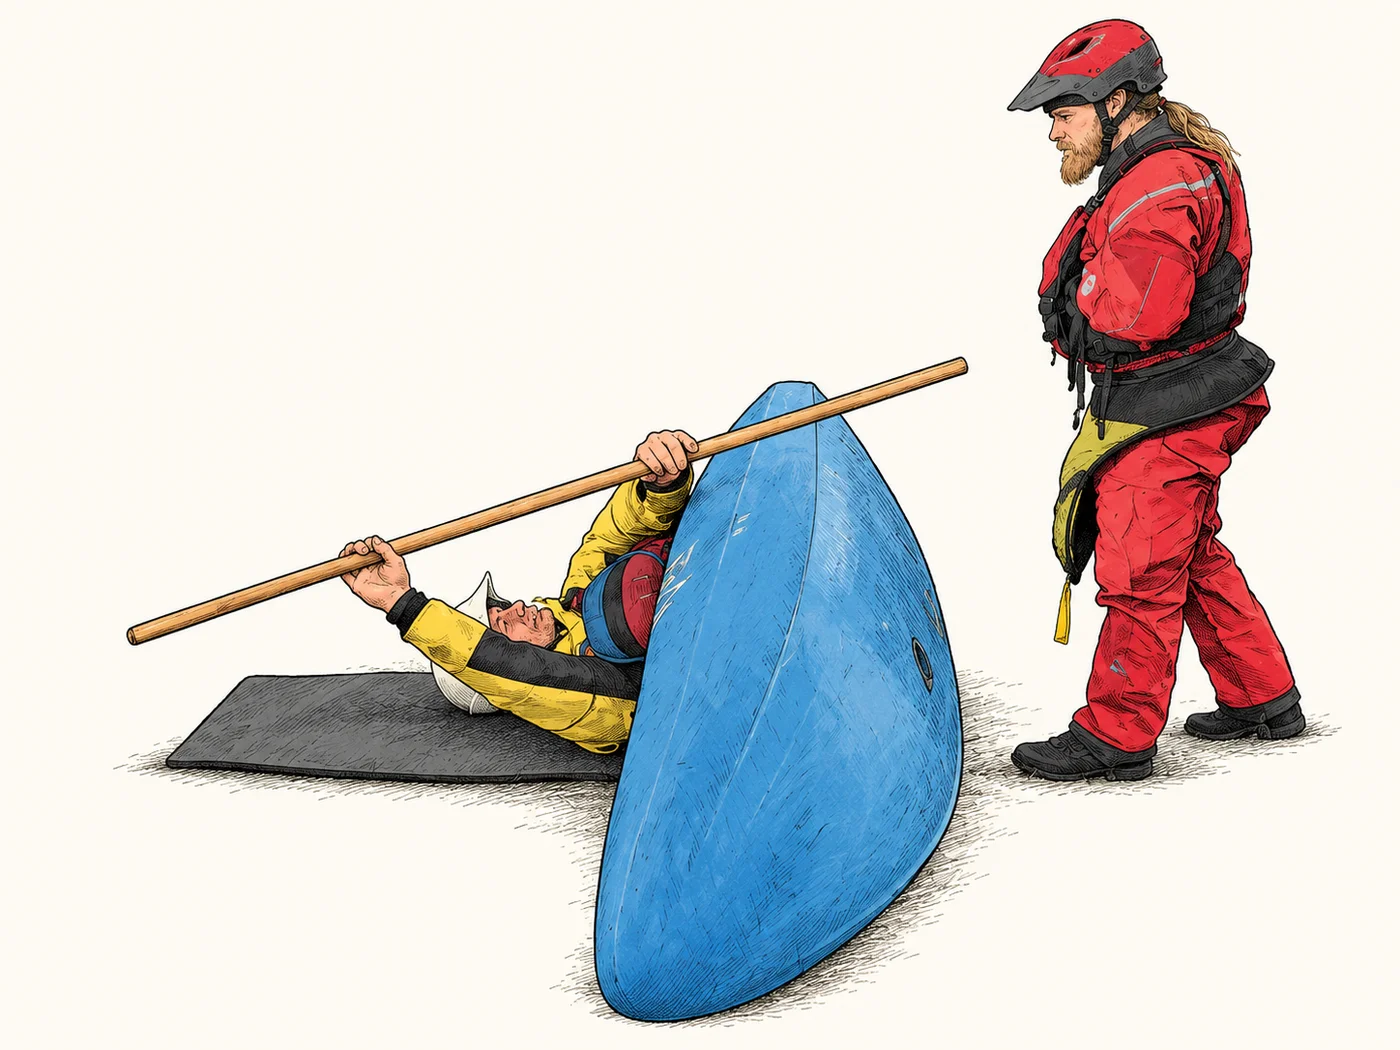
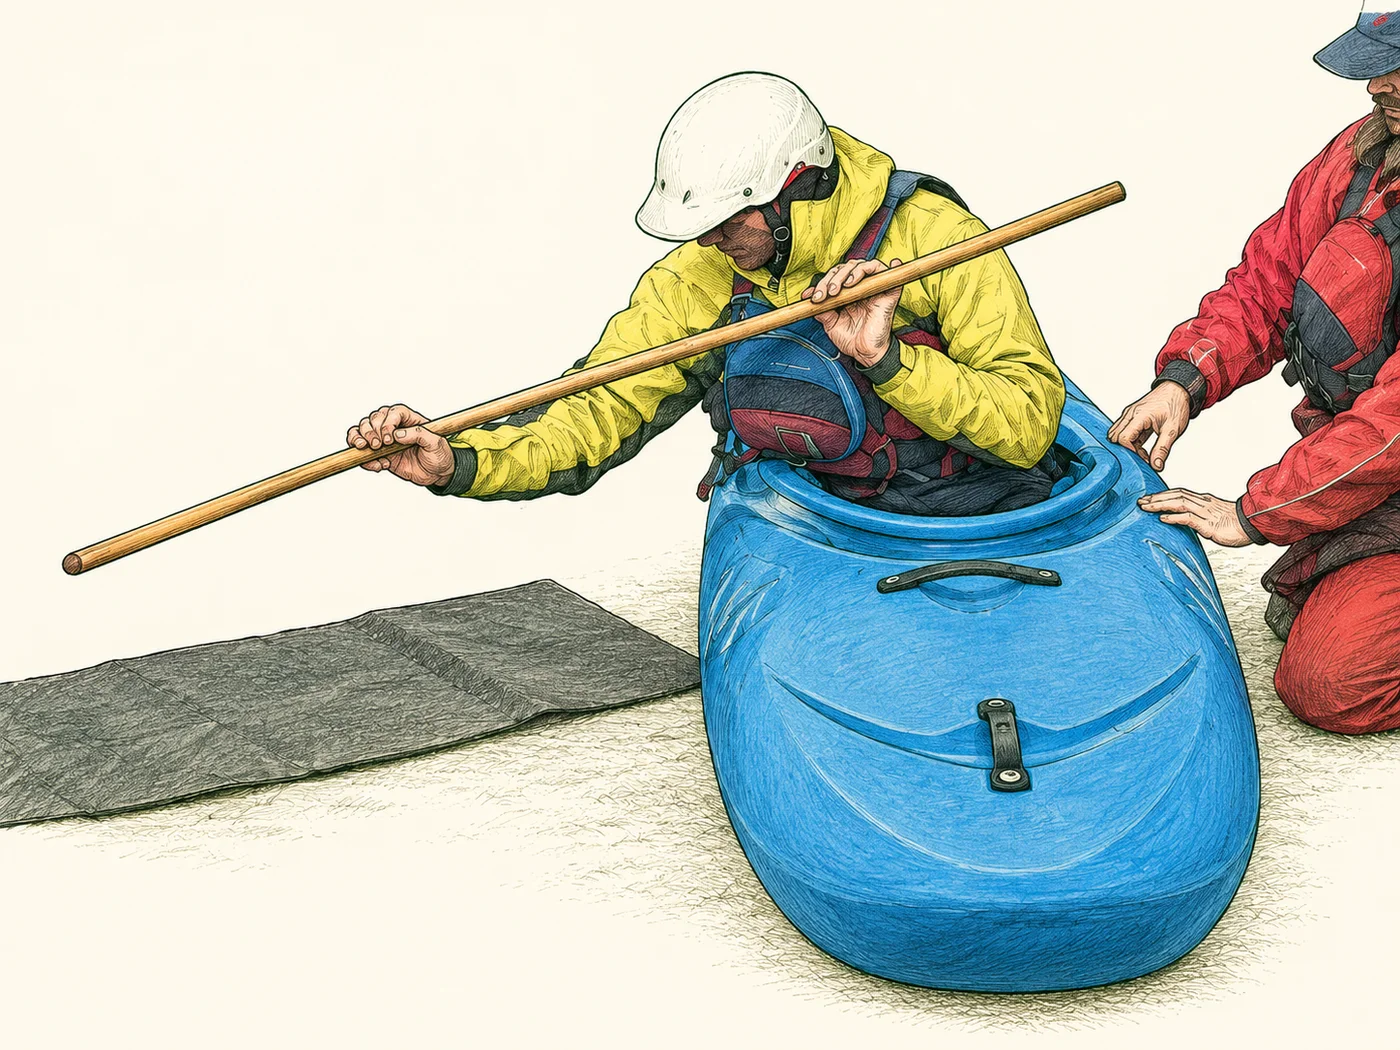
Illustration of a paddler beside a tipped blue kayak holding a broom handle, with a helper standing alongside.
Drawn from the recording. The video below shows the movement.

Watch the starting position, the small movement and the assisted finish. These were filmed on land with a broom handle. Ask the coach how they want to use the ideas in your pool session.

What to look for

Agree how you'll be supported before you start.

A useful question
"Are you comfortable, and would you like to reset?"

Watch the original

Supported boat positions

Choose a bit to watch. It stops at the end so you can talk it through or replay it. You can also use the video controls to watch the rest.

Choose a passage to begin.

Illustrated assisted finish, with helper alongside the upright blue kayak.

Notice what the helper does.

In this part of the recording, the helper moves the boat slowly and the paddler follows. Watch the clip to see it happen. Get the coach to demonstrate your own hand position and support in the pool.

The small-movement passage contains contrasting examples. Watch the complete passage with the session leader; no single "correct" pose is illustrated.

Coach review: progression & source notes

Illustrations and teaching summaries require qualified coach review. Source transcript wording has not been verified by direct listening. Images retain the source orientation.

Rehearse the starting position

The source explicitly rules out trying to roll the kayak upright unaided on land. The helper needs a useful view and clearance from the pole. This is not a universal claim that the position prevents shoulder injury.

Source clip 06 · 1:50
Keep the movement small

The 03:10 to 03:38 passage contains a 'not this / this' comparison. Do not extract a single frame as the correct example until the precise contrast is coach-confirmed. Use the complete passage for review, or omit it from the learner edit.

Source clip 06 · 2:48
Let the coach guide the finish

Use 04:42 to 05:05 or the assisted repeat at 05:33 to 06:01. The unassisted attempt at about 05:05 to 05:33 is explicitly the unwanted example. The terms 'action arm' and 'anchor arm' and the exact finishing geometry need coach confirmation before diagramming.

Source clip 06 · 5:50

Helping in the pool

Helping someone
in the pool.

If you're helping someone in the pool, get the coach to show you what they want you to do before you try it. You don't need to be an instructor to help, but you do need to understand the assistance you've been asked to give.

Before the attempt

Ask the coach to show you.

  • Ask the leader to show your role, position and how to help the learner upright.
  • Agree a clear stop or help signal with the learner.
  • Ask permission before any hands-on assistance.
  • Check that the leader has confirmed readiness, boat fit, exit and rescue arrangements.
During practice

Use the cue you agreed.

  • Use the one cue agreed with the leader.
  • Give only the assistance you have been shown and assigned.
  • Respond to the agreed signal; never keep someone underwater to finish an attempt.
  • Stop and involve the leader for discomfort, distress, uncertainty or a change of exercise.
Between attempts

Give them a moment.

  • Let them get their breath and settle before talking through the attempt.
  • Ask "How did that feel?" before giving them more advice.
  • Say what you saw. If you're not sure why it happened, ask the coach.
  • Check whether they want another go. Let the coach decide if the exercise needs changing.

The coach running the session is responsible for choosing the exercise and showing helpers what to do. If you haven't been shown the assistance, ask before taking that role.

A few words, in plain English
Set-up / "chambering"
The starting position. Ask the leader to show the version they are teaching.
Boat connection
How the seat, footrests and thigh contact let the paddler move with the boat while preserving an easy exit.
Reset
Help back to a comfortable starting point using the assistance you have been taught, then pause and check in.

For your next session

Take this to
your next session.

If an attempt doesn't work, talk about what happened before adding more instructions. Keep the bit that helped and ask the coach what to work on next.

Before you start

Use these to start the conversation with the coach. Ticking them doesn't confirm readiness. They aren't saved when you leave the page.

Learners + helpers + coaches

A copy for the pool.

The illustrations, a short checklist and notes for learners, helpers and coaches. Save it to your phone or print a copy. Still a coach-review draft.

Download the illustrated guide ↓

Original recordings, captions & review material

Seven source clips, about 15 minutes in total. These are the land recordings behind the guide, not a complete pool-coaching course. Transcripts and captions retain their original uncertainty markers.

Readable transcripts · Raw machine transcripts · Overview source map

What still needs checking

A qualified coach still needs to confirm transcript wording, the illustrations, the progression and appropriate assistance for the intended learners.